Welcome to HydroMakers! If you are short on space but big on growing ambitions, vertical hydroponics is your golden ticket. Whether you are an urban dweller with a tiny balcony or a suburban gardener looking to maximize your greenhouse footprint, building a vertical hydroponic tower is one of the most rewarding DIY projects you can undertake.
Commercial vertical towers can cost hundreds of dollars, but with a little maker spirit, some basic tools, and affordable PVC pipes from your local hardware store, you can build a highly efficient, space-saving vertical garden on a budget. In this comprehensive guide, we will walk you through the entire process of designing, building, and optimizing your very own DIY vertical hydroponic tower.
Why Choose a Vertical PVC Hydroponic Tower?
Before we dive into the construction, let's talk about why this specific system is a favorite among the HydroMakers community.
First and foremost, vertical towers are the ultimate space-savers. By growing upward instead of outward, you can cultivate up to 20-30 plants in a mere 2 square feet of floor space. This makes it an ideal setup for patios, apartments, and indoor grow tents.
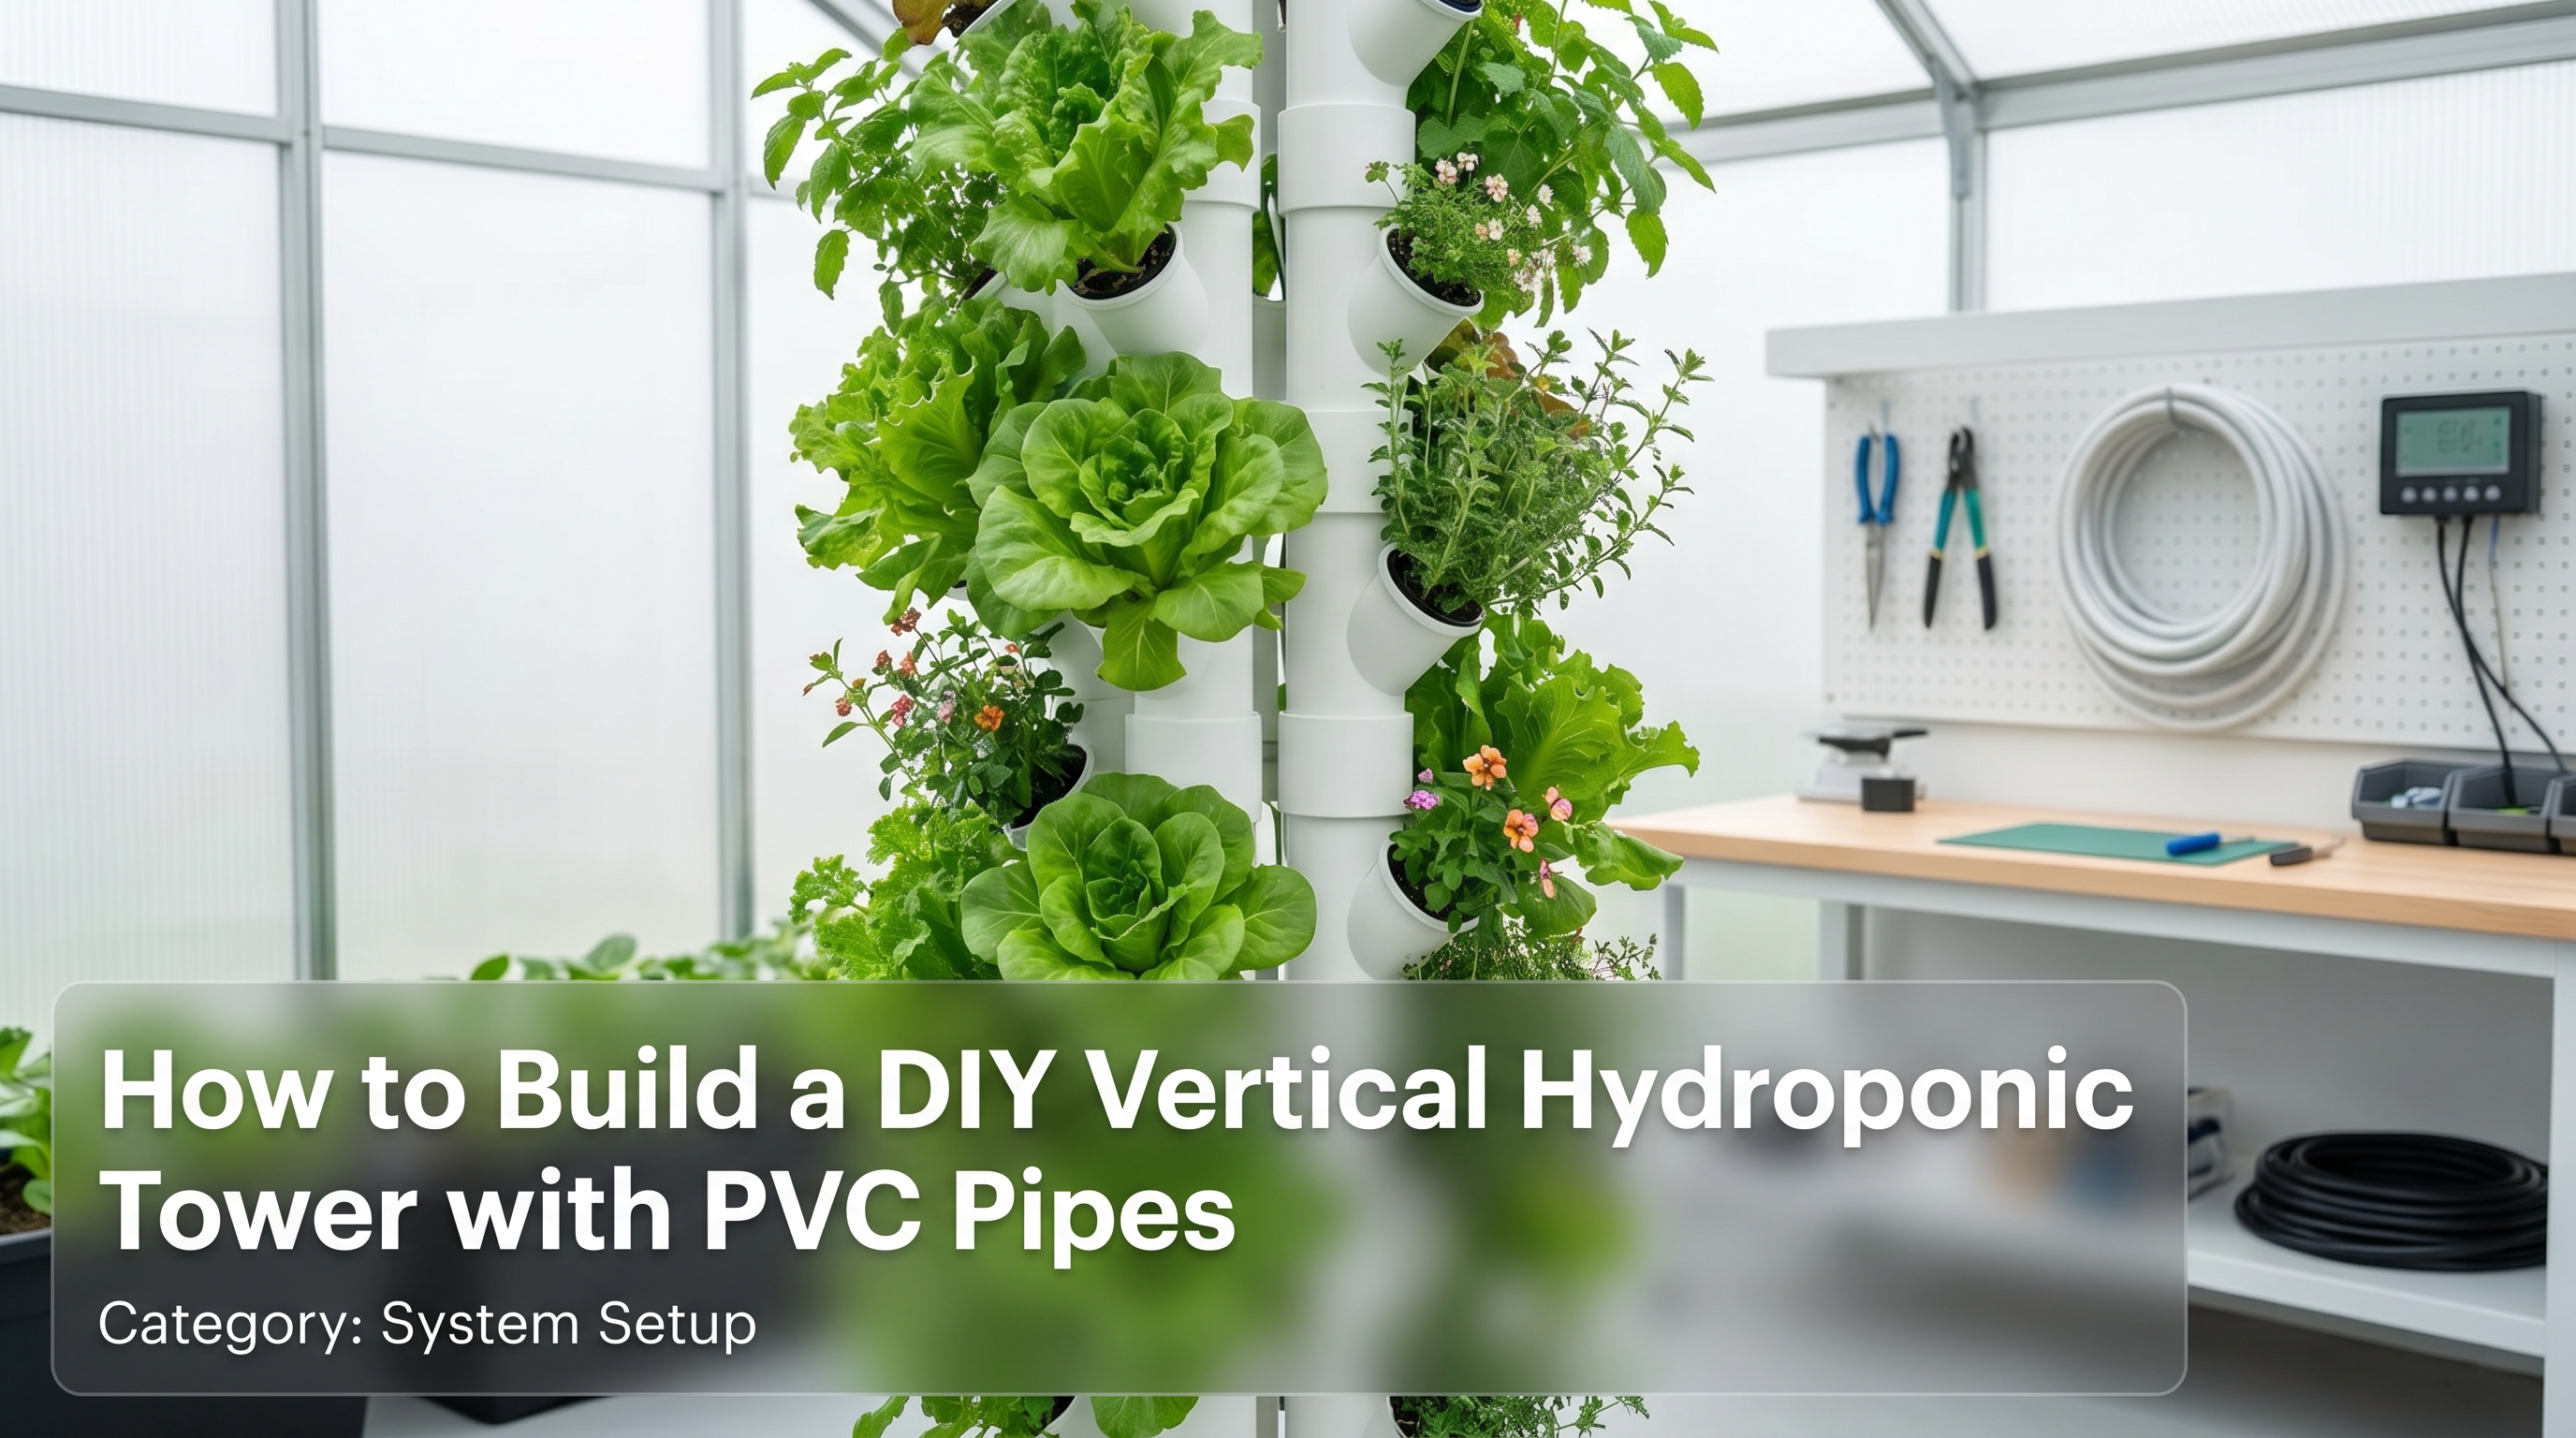
Secondly, PVC is incredibly accessible, durable, and easy to work with. Using standard 4-inch PVC pipe allows you to customize the height and number of plant pockets to suit your specific needs. The system operates on a recirculating aeroponic or drip principle: water is pumped from a bottom reservoir to the top of the tower, where it cascades down the inside of the pipe, showering the suspended plant roots with highly oxygenated, nutrient-rich water.
Tools and Materials You Will Need
To keep things budget-friendly, we are focusing on materials that are readily available. Here is your shopping list:
The Hardware
* 4-inch PVC Pipe: One 5-foot length (Schedule 40 is best for durability, though thin-wall PVC is easier to heat and bend).
* 4-inch PVC End Cap: To seal the top of the tower.
* 5-Gallon Bucket with Lid: This will serve as your nutrient reservoir and the base of your tower.
* Heat Gun: Essential for softening the PVC to create plant pockets.
* Rotary Tool or Angle Grinder: For cutting slits into the PVC.
* Wooden Jig or Glass Bottle: To press into the heated PVC and shape the pockets (a 2-inch diameter glass bottle works perfectly).
* Power Drill and Hole Saw: For cutting the access hole in the bucket lid.
* Safety Gear: Heat-resistant gloves, safety goggles, and a respirator mask (heating PVC can release fumes).
The Hydroponic Components
* Submersible Water Pump: A pump with a minimum "head height" (max lift) of 6 feet to ensure water reaches the top of your tower.
* 1/2-inch Vinyl Tubing: Long enough to reach from the pump in the bucket to the top of the PVC pipe.
* Water Distribution Ring or Showerhead: To disperse water evenly at the top of the tower.
* 2-inch Net Pots: To hold your plants.
* Growing Medium: Rockwool cubes, clay pebbles (LECA), or pool noodles cut to size.
* Hydroponic Nutrients: A quality liquid nutrient blend suited for leafy greens.
Step-by-Step Construction Guide
Ready to get your hands dirty? Follow these steps to construct your vertical tower.
Step 1: Prepping and Measuring the PVC
Start by cleaning your PVC pipe thoroughly. Next, use a marker to map out where your plant pockets will go. For optimal plant growth, stagger the holes so that plants do not block the light of the ones directly below them.
A good rule of thumb is to leave about 6 to 8 inches of vertical space between pockets on the same side. Draw a horizontal line about 2 to 3 inches long at each marked spot. This line is where you will make your cuts.
Step 2: Heating and Shaping the Plant Pockets
This is where the maker magic happens! Put on your safety gear and work in a well-ventilated area.
1. Using your rotary tool or angle grinder, cut along the horizontal lines you drew in Step 1.
2. Take your heat gun and apply heat evenly around the cut. Keep the gun moving to avoid burning or scorching the plastic.
3. Once the PVC becomes soft and pliable (usually after 30-60 seconds of heating), take your wooden jig or glass bottle and press it firmly into the slit, pushing downward at a 45-degree angle.
4. Hold the jig in place for about a minute until the PVC cools and hardens into a perfect pocket.
5. Repeat this process for every cut on your tower.
Step 3: Assembling the Internal Irrigation
For the roots to receive water, you need an internal plumbing system. Run your 1/2-inch vinyl tubing up through the center of the PVC pipe. At the top, attach a small PVC cross-fitting, a drip ring, or simply drill small holes into a looped piece of tubing. The goal is to ensure that when water pumps to the top, it sprays outward and cascades down the inner walls of the 4-inch pipe, rather than just falling straight down the middle.
Step 4: Setting Up the Reservoir and Pump
Take your 5-gallon bucket lid and use a hole saw to cut a 4-inch hole in the center. This is where your PVC tower will sit. You may want to cut a smaller secondary hole near the edge of the lid to act as an access port for checking pH, adding nutrients, and routing the pump's power cord.
Place the submersible pump at the bottom of the bucket. Connect the bottom end of your 1/2-inch vinyl tubing to the pump. Slide the completed PVC tower through the center hole of the lid so it rests securely in the bucket.
Fill the bucket with water, plug in the pump, and test your system! Look inside the tower to ensure water is cascading over all the plant pockets. Check for any leaks around the base.
Practical Tips for Vertical Growing Success
Building the tower is only half the fun; growing in it is where the real reward lies. Here are some best practices from experienced HydroMakers:
* Use a Timer: You do not need to run the pump 24/7. A cycle timer set to 15 minutes ON and 45 minutes OFF is usually perfect. It saves electricity, extends the life of your pump, and gives roots a chance to breathe.
* Choose the Right Crops: Vertical towers excel at growing leafy greens, herbs, and compact fruiting plants. Lettuce, spinach, basil, mint, kale, and strawberries are fantastic choices. Avoid heavy, sprawling plants like large tomatoes or pumpkins, as they will unbalance the tower.
* Secure the Tower: If your tower is tall or placed outdoors in a windy area, it can become top-heavy. Secure the top of the PVC pipe to a wall, railing, or overhead support using a bungee cord or zip ties.
* Monitor Water Levels: Because the reservoir is relatively small (5 gallons), water levels can drop quickly as plants mature. Check the reservoir every few days and top it off with pH-balanced nutrient solution.
Common Mistakes to Avoid
Even seasoned makers run into hiccups. Avoid these common pitfalls to ensure a smooth growing experience:
* Ignoring Pump Head Height: Buying a cheap pump that cannot push water 5 feet vertically is the most common mistake. Always check the "max head" rating on the pump packaging.
* Overheating the PVC: If the PVC turns brown or starts bubbling while you are using the heat gun, you are holding it too close or heating it for too long. Scorched PVC becomes brittle and releases toxic fumes.
* Forgetting System Maintenance: Roots can grow incredibly long in a vertical tower, eventually clogging the bottom drain or wrapping around the pump. Trim excessively long roots periodically and clean the entire system with a mild hydrogen peroxide solution between growing cycles.
* Poor Light Distribution: In a vertical setup, the plants at the bottom often get shaded by the plants at the top. If growing indoors, use vertical LED grow lights positioned alongside the tower rather than a single light hanging above it.
Conclusion: Your Vertical Oasis Awaits
Building a DIY vertical hydroponic tower with PVC pipes is a fantastic weekend project that yields massive returns. Not only do you save money compared to buying a commercial system, but you also gain a deep understanding of how aeroponic and hydroponic mechanics work.
By following this blueprint, you are well on your way to harvesting crisp lettuce, fragrant basil, and juicy strawberries right from your living room, balcony, or backyard. Gather your materials, fire up that heat gun, and start building your vertical oasis today!
Have you built your own PVC tower? Share your photos, modifications, and harvest results in the HydroMakers community forum. Happy growing!
Comments
Comments feature coming soon. Join the discussion in our community forums!
Visit Community →