Welcome to the world of soil-less gardening! If you are reading this in 2026, you likely know that growing your own food is more than just a trend—it is a lifestyle shift toward sustainability, health, and self-reliance. Whether you live in a sprawling house or a compact apartment, hydroponics offers a way to cultivate fresh herbs, leafy greens, and fruiting vegetables year-round.
At HydroMakers, we believe anyone can grow a lush garden without a single speck of dirt. This guide is designed to take you from zero knowledge to your first harvest, breaking down complex concepts into actionable steps.
What is Hydroponics?
Simply put, hydroponics is the art of growing plants without soil. Instead of searching through the dirt for nutrients, plant roots are submerged in, flooded with, or misted by a nutrient-rich water solution. This direct access to food and oxygen allows plants to grow significantly faster—often 30% to 50% faster—than their soil-grown counterparts.
In a hydroponic system, you control the environment. You provide the support (using inert media like clay pebbles or rockwool), the food (liquid nutrients), and the light. In return, the plants focus all their energy on vegetative growth and fruit production rather than expanding a massive root system to forage for minerals.
Why Go Soil-Less? The Pros and Cons
Before diving into the setup, it is important to understand what you are signing up for.
The Advantages
* Faster Growth & Higher Yields: With optimized nutrition, plants grow rapidly.
* Water Efficiency: Hydroponics uses up to 90% less water than traditional gardening because the water is recirculated.
* Space Saving: You can grow more plants in less space, often stacking them vertically.
* No Weeds or Soil-Borne Pests: Say goodbye to weeding and common dirt-loving bugs.
* Year-Round Harvests: Grow basil in December or strawberries in February.
The Challenges
* Initial Cost: Setting up pumps, lights, and reservoirs costs more than a bag of potting soil.
* Learning Curve: You need to learn about pH, EC (Electrical Conductivity), and nutrient ratios.
* Dependency on Electricity: Most active systems require power. A long outage can damage plants if not managed.
Choosing Your First System
Not all hydroponic systems are created equal. For 2026, we recommend starting with one of these four popular methods, ranked from easiest to most advanced.
1. The Kratky Method (Passive)
This is the "set it and forget it" method. Plants sit in a net cup suspended over a reservoir of nutrient water. As the plant drinks, the water level drops, creating an air gap that allows the roots to breathe.
* Best for: Lettuce, spinach, herbs.
* Pros: No electricity, no pumps, silent, cheapest setup.
2. Deep Water Culture (DWC)
Similar to Kratky, but with a twist. An air stone connected to an air pump bubbles oxygen into the reservoir continuously. This super-oxygenated environment leads to explosive growth.
* Best for: Lettuce, peppers, tomatoes, cannabis.
* Pros: Simple to build, highly effective, forgiving for beginners.
3. Nutrient Film Technique (NFT)
A thin film of nutrient water flows constantly over the roots in a sloped channel (usually a PVC pipe or specialized channel) and drains back into a reservoir.
* Best for: Fast-growing leafy greens, strawberries.
* Pros: Very water efficient, lightweight.
* Cons: Pump failure can dry out roots very quickly.
4. Aeroponics
Roots hang in the air and are misted with nutrient solution every few minutes. This provides maximum oxygenation.
* Best for: Advanced growers, cloning, leafy greens.
* Pros: Fastest growth rates possible.
* Cons: High maintenance, nozzles clog easily, expensive.
Essential Equipment Checklist
Regardless of the system you choose (we recommend DWC for your first serious attempt), you will need the following gear:
1. Reservoir: An opaque plastic tote or bucket (opaque to prevent algae growth).
2. Net Cups: Plastic baskets to hold the plants.
3. Growing Medium: Inert material to support the stem. Popular choices include Hydroton (clay pebbles), Rockwool, or Coco Coir.
4. Air Pump & Air Stone: Essential for DWC to oxygenate the water.
5. Water Pump: Required for NFT or Drip systems.
6. pH Control Kit: pH Up and pH Down solutions, plus a testing meter or drops.
7. EC/TDS Meter: To measure the strength of your nutrient solution.
Understanding Nutrients and Water Chemistry
Plants need food! In hydroponics, you provide the "NPK"—Nitrogen, Phosphorus, and Potassium—along with micronutrients like Calcium and Magnesium.
* The Solution: Buy a high-quality liquid nutrient set designed for hydroponics (e.g., General Hydroponics Flora Series). Do not use soil fertilizer; it lacks the micronutrients required for water culture.
* The pH Balance: This is critical. If your pH is off, plants cannot absorb nutrients even if they are present (nutrient lockout). Most vegetables prefer a pH between 5.5 and 6.5.
Shedding Light on the Subject: Lighting Requirements
If you aren't growing in a greenhouse or a sunny windowsill, you need grow lights. In 2026, Full Spectrum LEDs are the gold standard.
* Leafy Greens: Require less light. Look for 20-40 watts per square foot.
* Fruiting Plants: Require intense light. Look for 30-50+ watts per square foot.
* Cycle: Use a timer to provide 14-16 hours of light per day for vegetative growth.
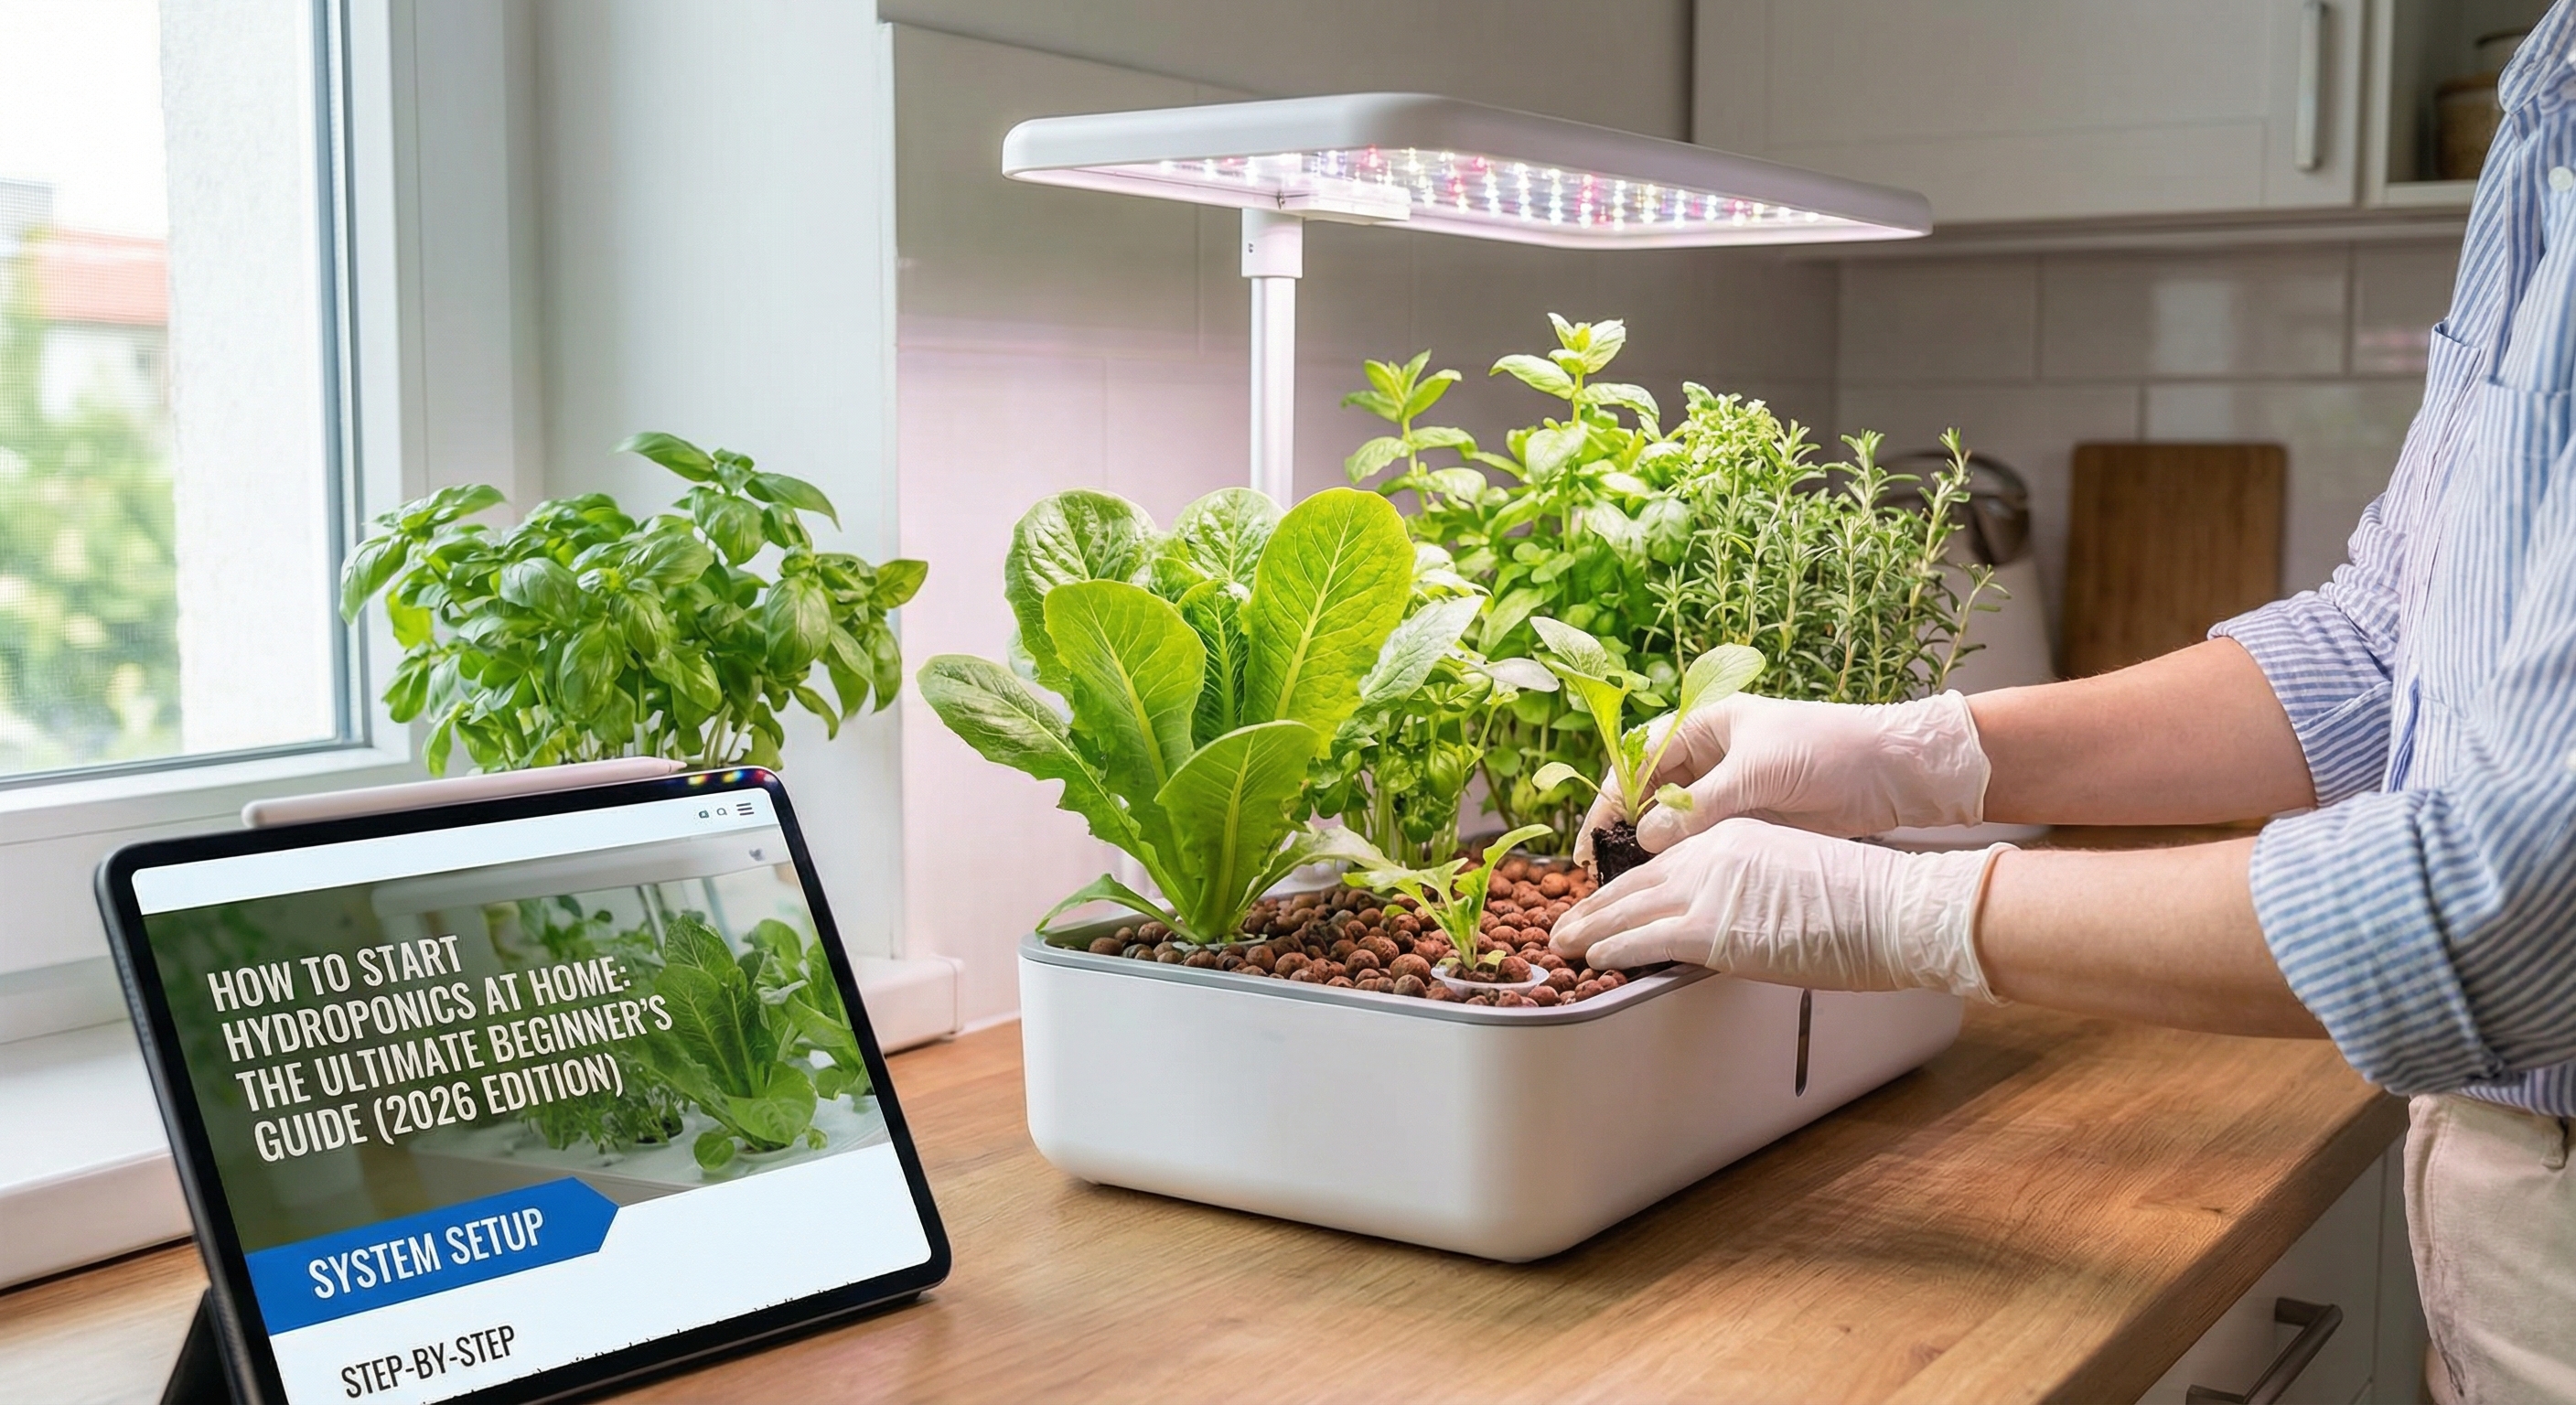
Step-by-Step Setup Guide (DWC Example)
Ready to build? Here is a quick DWC setup:
1. Prepare the Reservoir: Clean your bucket/tote. Drill holes in the lid that fit your net cups snugly.
2. Set Up Aeration: Connect your air stone to the air pump using airline tubing. Place the stone at the bottom of the reservoir.
3. Mix Nutrients: Fill the reservoir with water. Add nutrients according to the bottle's "seedling" or "vegetative" dosage.
4. Check pH: Use your meter. Adjust to ~6.0 using pH Up/Down.
5. Planting: Place your seedling (started in a rockwool cube) into the net cup. Surround it with clay pebbles for support.
6. Water Level: Fill the reservoir until the water *just* touches the bottom of the net cup. The bubbles will splash the roots until they grow down into the water.
7. Light It Up: Turn on your grow light and watch them grow!
Your Maintenance Schedule
Consistency is key to HydroMakers' success.
* Daily: Check plants for pests/disease. Ensure the pump is running. Check temperature (ideal water temp is 65°F-75°F).
* Every 2-3 Days: Check pH and adjust. Top off the reservoir with plain, pH-balanced water as plants drink.
* Weekly: Check EC/PPM. If the nutrient concentration is too low, add more food. If too high, dilute with water.
* Every 2 Weeks: Perform a full reservoir change. Dump the old water, clean the bucket, and mix a fresh batch of nutrients. This prevents salt buildup.
Troubleshooting Common Beginner Issues
* Root Rot: Roots look brown, slimy, and smell bad.
* *Cause:* Not enough oxygen or water is too hot.
* *Fix:* Increase aeration, use a water chiller, or add beneficial bacteria (Hydroguard).
* Algae Growth: Green slime in the tank.
* *Cause:* Light entering the reservoir.
* *Fix:* Cover the reservoir completely with foil or black tape. Light + Water + Nutrients = Algae.
* Nutrient Burn: Tips of leaves turn yellow or brown and crispy.
* *Cause:* Nutrient solution is too strong.
* *Fix:* Dilute the reservoir with fresh water.
Conclusion
Starting hydroponics at home is an exciting journey of science and nature. By choosing a simple system like DWC or Kratky, investing in a decent light, and keeping a close eye on your pH, you will be harvesting fresh salads from your living room in no time.
Remember, every expert HydroMaker started with a single seed and a bucket of water. Don't be afraid to experiment, make mistakes, and learn. Happy growing!
Comments
Comments feature coming soon. Join the discussion in our community forums!
Visit Community →